1 Installing R
To learn how to use R, you obviously need to have access to it. This chapter, and the next one, guide you through the installation process of R and RStudio so that you can have both programs up and running in your computer.
If you already have R and RStudio installed in your machine, you can safely go to chapter First Contact with R.
1.1 Download R
To download and install R in your computer, follow the steps listed below.
Step 1) Go to the R project website: https://r-project.org

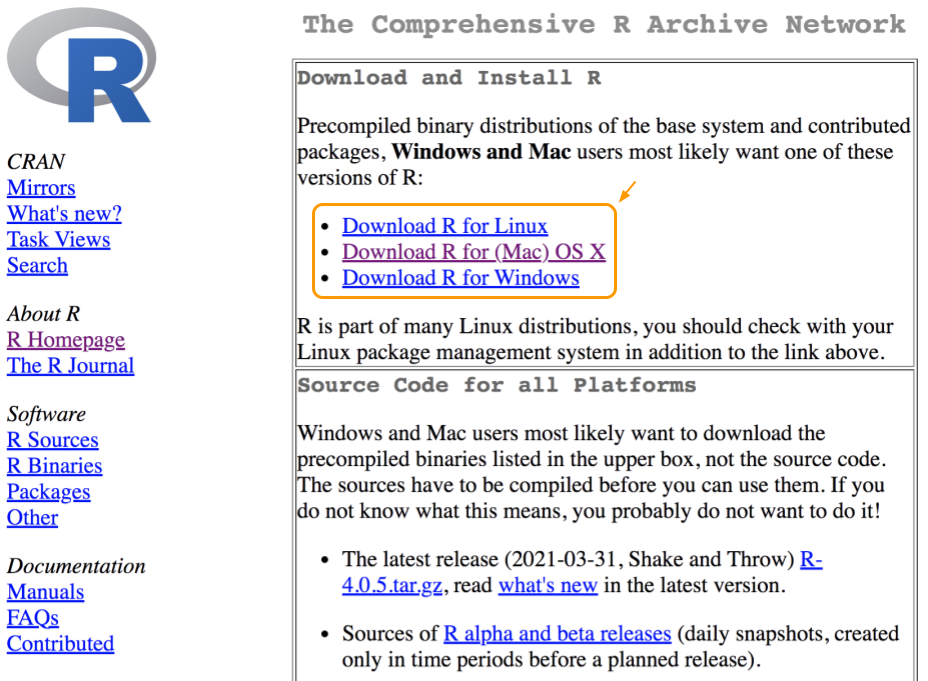
Step 2) Click on the CRAN link, located in the navigation bar—on the left side (see screenshot below). This will take you to the Comprehensive R Archive Network page.

If you are redirected to the CRAN Mirrors page, then simply select a mirror that is geographically close to your location. For instance, say you are in Berkeley, California. Then look at the mirrors located in USA and select one that is close to you, e.g. the mirror from Oregon State University.
Step 3) Once you are in The Comprehensive R Archive Network page, then click on the download option that corresponds to your operating system (e.g. Linux, Mac, or Windows). In my case, I have a Mac computer, which explains why the Mac OS-X link is highlighted in the screenshot below.

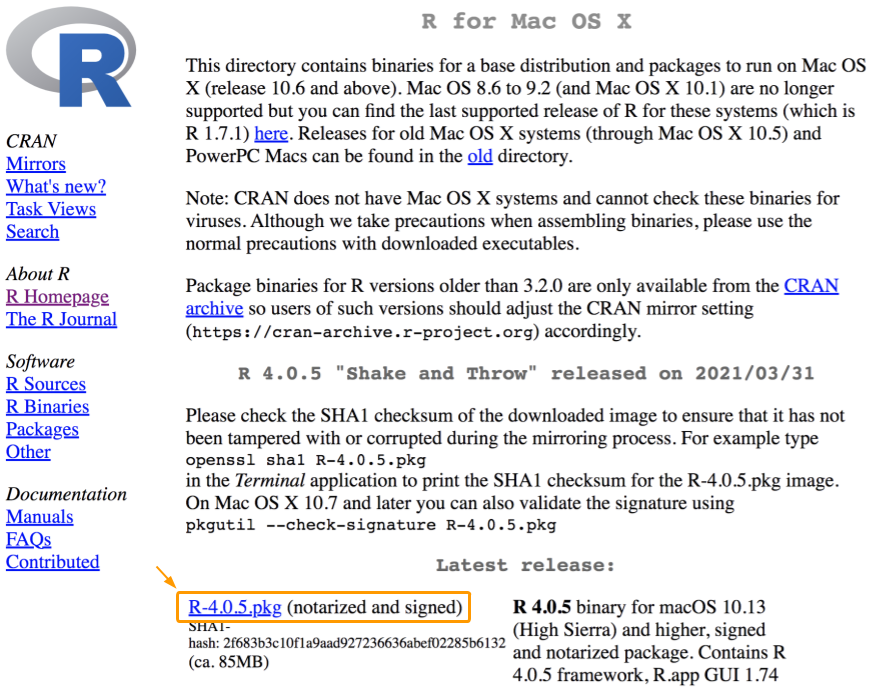
Step 4) The next step involves installing the Latest release, which in the screenshot above happens to be R 4.0.5 "Shake and Throw". Keep in mind that by the time you read this book, R will very likely have a more recent version.
Click on the package link, which in the screenshot corresponds to R-4.0.5.pkg. This is the link of a compressed file that contains the binary code. Before installing a given version of R, read the description of the release to make sure the operating system in your computer is compatible with a specific version of R.
After clicking on the R-4.0.5.pkg link, the compressed file will be downloaded to your computer.

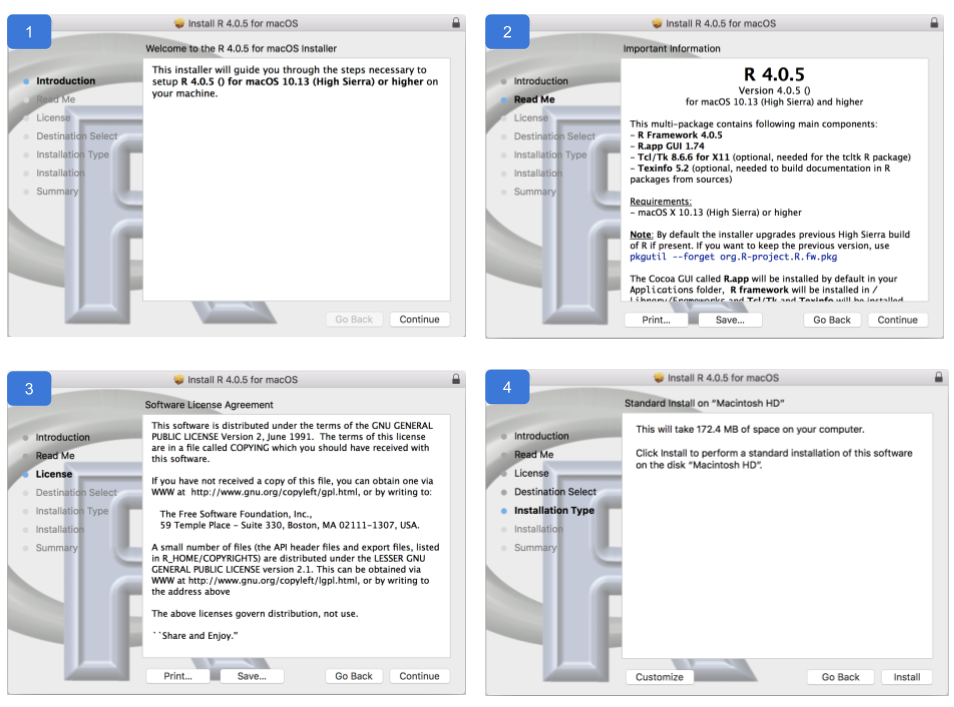
Step 5. Click on the downloaded file. An installation wizard will open automatically, ready to guide you through the installation process, step by step (see image below).

In most cases, you will want to use the default settings. Personally, I’ve been using the default settings for several years without having the need to customize anything.
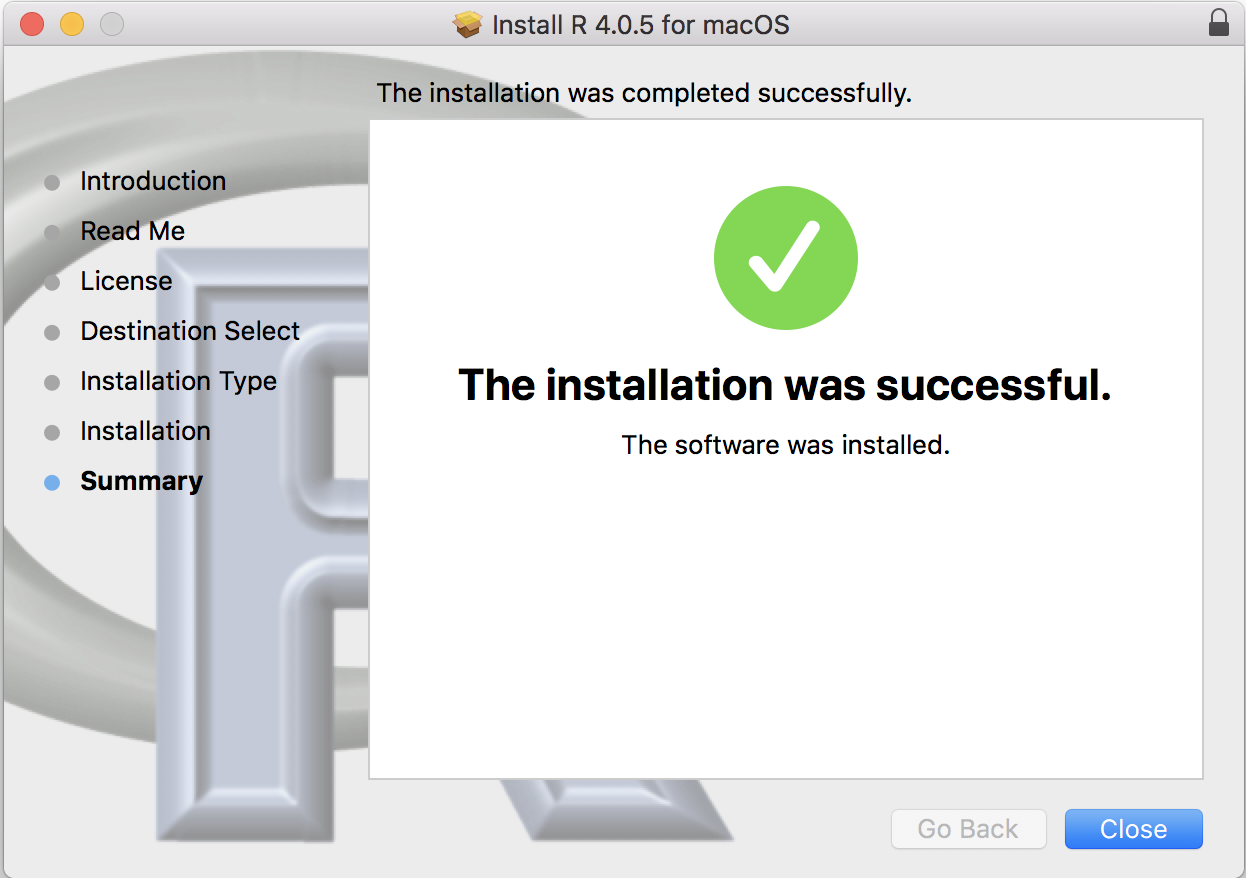
At the end of the installation, if everything went well, you should be able to see a successful message (see figure below):
