11 Open Notify API
In this chapter we provide another fairly simple example of an API: Open Notify.
You will need the following packages
library(tidyverse)   # data wrangling and graphics
library(httr2)       # for HTTP requests
library(jsonlite)    # for working with JSON data
library(leaflet)     # for interactive web maps
11.1 Introduction
Open Notify is an open source project, developed and maintained by Nathan Bergey, to provide a simple application programming interface (API) for some of NASA’s data.
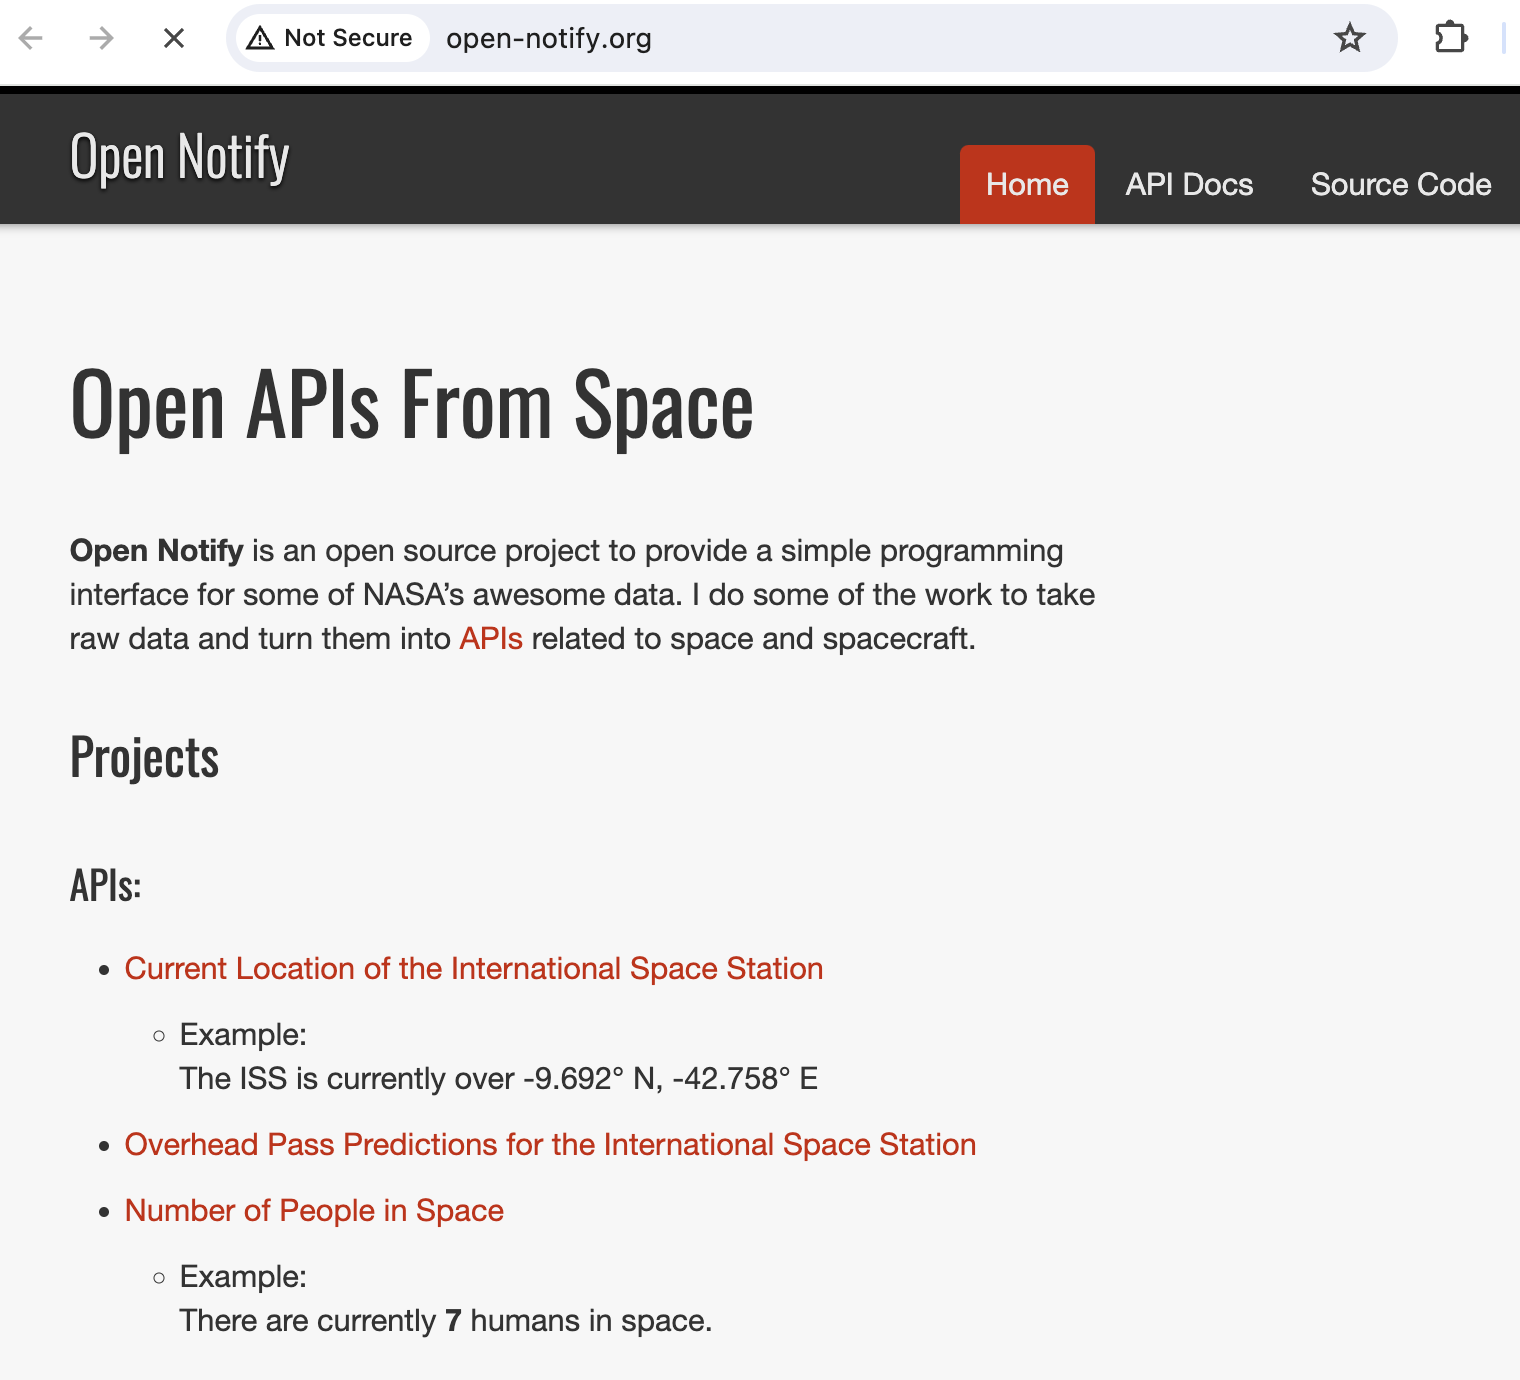
Figure 11.1: Open Notify API
If you visit Open Notify’s website https://www.open-notify.org, you’ll see that this API allows you to make 3 types of requests:
current location of the International Space Station (ISS)
overhead pass predictions for the ISS
number of astronauts in space
11.2 Current ISS Location
To get the current location of the International Space Station (ISS) we need to check the documentation of the ISS Location Now webpage given in the link below:
http://open-notify.org/Open-Notify-API/ISS-Location-Now/
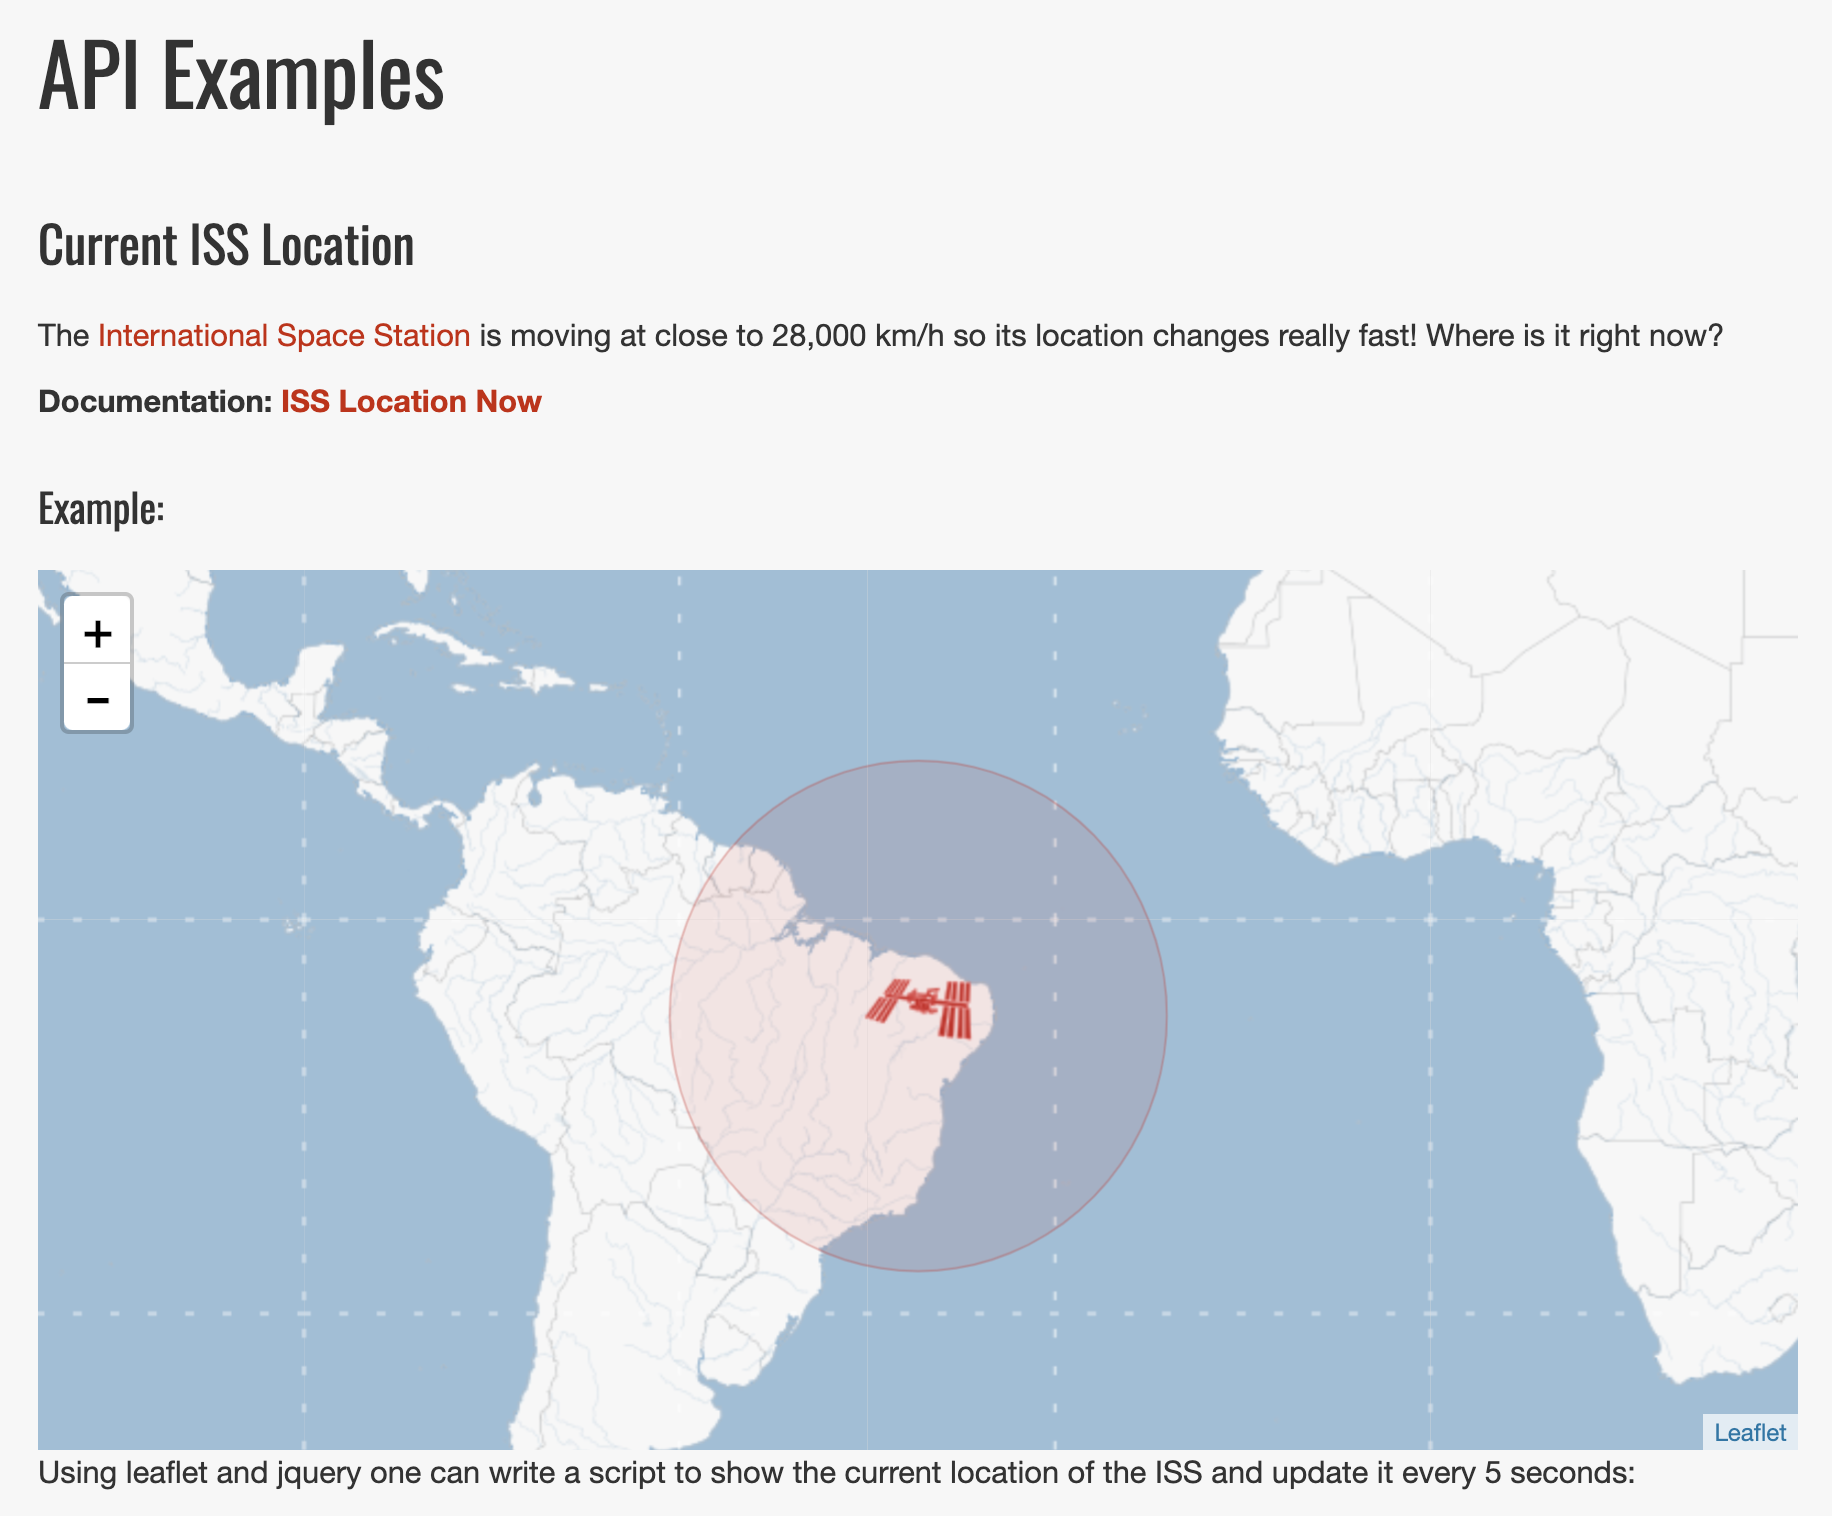
Figure 11.2: Open Notify API
Inspecting the API documentation (see image below), it is possible to use Open Notify to obtain the current location of the ISS by making a request to http://api.open-notify.org/iss-now.json
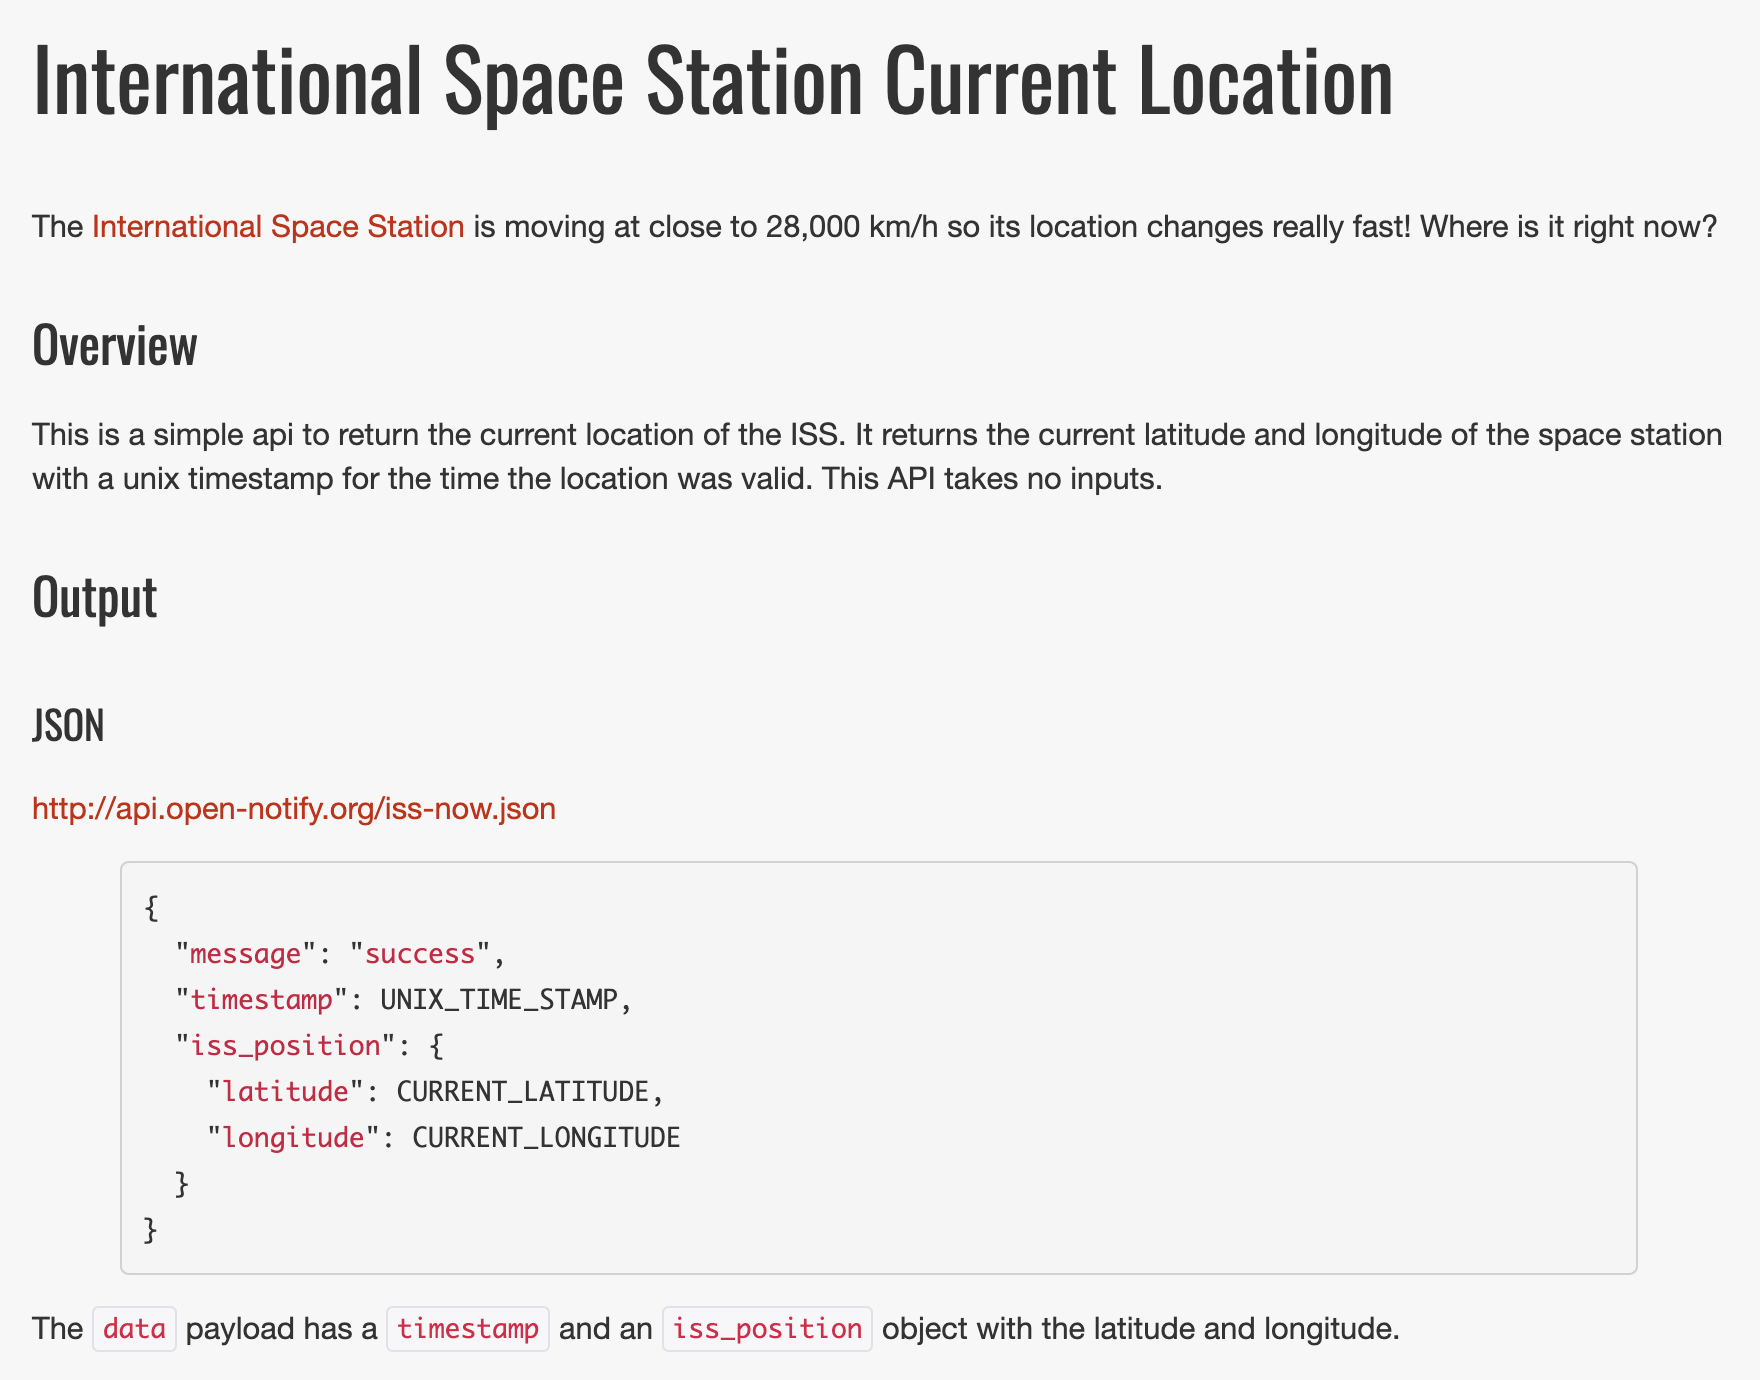
Figure 11.3: Open Notify API
To reiterate, the URL to get the location data of the ISS is given by:
http://api.open-notify.org/iss-now.jsonAt the time of this writing, the ISS position is:
{"iss_position": {"longitude": "-58.8531", "latitude": "-28.5444"}, "message": "success", "timestamp": 1699732761}Notice that this output is given in JSON format which we can momentarily arrange as:
{
  "iss_position": {
    "longitude": "-58.8531",
    "latitude": "-28.5444"
  },
  "message": "success",
  "timestamp": 1699732761
}
What do we have? We get the longitude and latitude, the message status of the HTTP GET request, and also a UNIX timestamp expressed in number of seconds since Jan-01-1970.
11.2.1 Getting Location (Approach 1)
One way to get the longitude and latitude coordinates of the ISS is by passing
the URL directly to the fromJSON() function. Keep in mind that this method
does not involve the explicit creation of an HTTP request.
11.2.2 Getting Location (Approach 2)
Another approach is to use functions from the R package "httr2".
The first step is to create a request object with request(), and then
complete the full path by appending the JSON file name. After that, we call
req_perform() to submit the request:
req = request("http://api.open-notify.org")

# then add on the query path
resp = req |>
  req_url_path_append("iss-now.json") |>
  req_perform()

resp
#> <httr2_response>
#> GET http://api.open-notify.org/iss-now.json
#> Status: 200 OK
#> Content-Type: application/json
#> Body: In memory (113 bytes)
Recall that resp is basically an R list with the following elements:
The body element contains the content of the response, and it is in "raw"
vector format by default:
resp$body
#>   [1] 7b 22 69 73 73 5f 70 6f 73 69 74 69 6f 6e 22 3a 20 7b 22 6c
#>  [21] 61 74 69 74 75 64 65 22 3a 20 22 2d 31 32 2e 36 36 30 38 22
#>  [41] 2c 20 22 6c 6f 6e 67 69 74 75 64 65 22 3a 20 22 2d 39 2e 35
#>  [61] 30 37 33 22 7d 2c 20 22 6d 65 73 73 61 67 65 22 3a 20 22 73
#>  [81] 75 63 63 65 73 73 22 2c 20 22 74 69 6d 65 73 74 61 6d 70 22
#> [101] 3a 20 31 36 39 39 38 39 34 37 31 32 7d
We can use rawToChar() to convert the content into a JSON string:
rawToChar(resp$body)
#> [1] "{\"iss_position\": {\"latitude\": \"-28.5444\", \"longitude\": \"-58.8531\"}, \"message\": \"success\", \"timestamp\": 1699732761}"
Alternatively, we can also use resp_body_json() to directly extract the
JSON content as a list in R:
11.2.3 Map with "leaflet" (ver 1)
With the longitude and latitude of the ISS, we can make a map to visualize its location around the Earth. In an attempt to replicate the map displayed in Open Notify—which is based on a Leaflet map—we can try to get our own map.
The first step is to create a data.frame iss_loc_dat with the longitude
(lng) and latitude (lat)
iss_loc_dat = data.frame(
  lng = as.numeric(iss_loc_list$iss_position$longitude),
  lat = as.numeric(iss_loc_list$iss_position$latitude)
)
We pass this data to leaflet(), adding tiles, and a couple of markers to
indicate the current location.
11.2.4 Map with "leaflet" (ver 2)
I was curious about the possibility of adding an image with the silhouette of the ISS. Luckily I found a PNG image file from wikimedia
https://commons.wikimedia.org/wiki/File:International_Space_Station.svg
The image file that I chose, shown below, was the one with the smallest resolution: 320 x 202 pixels

Figure 11.4: ISS image from Wikimedia
Creating an leaflet Icon
With the PNG file of the ISS, we have to create an icon via the "leaflet"
function makeIcon(). For convenience, we need to resize the icon image
by specifying iconWidth and iconHeight dimensions. Also, to center the
icon image when displayed on the map, we also need to specify iconAnchorX
and iconAnchorY values:
# url of ISS icon from Wikimedia Commons (png file)
# (broken into pieces so that it fits nicely on the screen)
wikimedia = "https://upload.wikimedia.org/wikipedia/commons/thumb/d/d0/"
iss = "International_Space_Station.svg/"
png = "320px-International_Space_Station.svg.png"
iss_icon = paste0(wikimedia, iss, png)

# define icon properties
issIcon <- makeIcon(
  iconUrl = iss_icon,
  iconWidth = 100,
  iconHeight = 70,
  iconAnchorX = 50,
  iconAnchorY = 35)
The last step involves making the map:
# leaflet map
leaflet(data = iss_loc_dat) |>
  addTiles() |>
  addCircleMarkers(
    lng = ~lng,
    lat = ~lat,
    radius = 70,
    stroke = FALSE,
    fillOpacity = 0.3) |>
  addMarkers(
    lng = ~lng,
    lat = ~lat,
    icon = issIcon) |>
  setView(lng = iss_loc_dat$lng, lat = iss_loc_dat$lat, zoom = 2)
Pretty nice, isn’t?
11.3 Astronauts in Space
Another kind of data that Open Notify lets you obtain is the number of astronauts in space. To get this data we need to check the documentation of the People in Space webpage given in the link below:
http://open-notify.org/Open-Notify-API/People-In-Space/
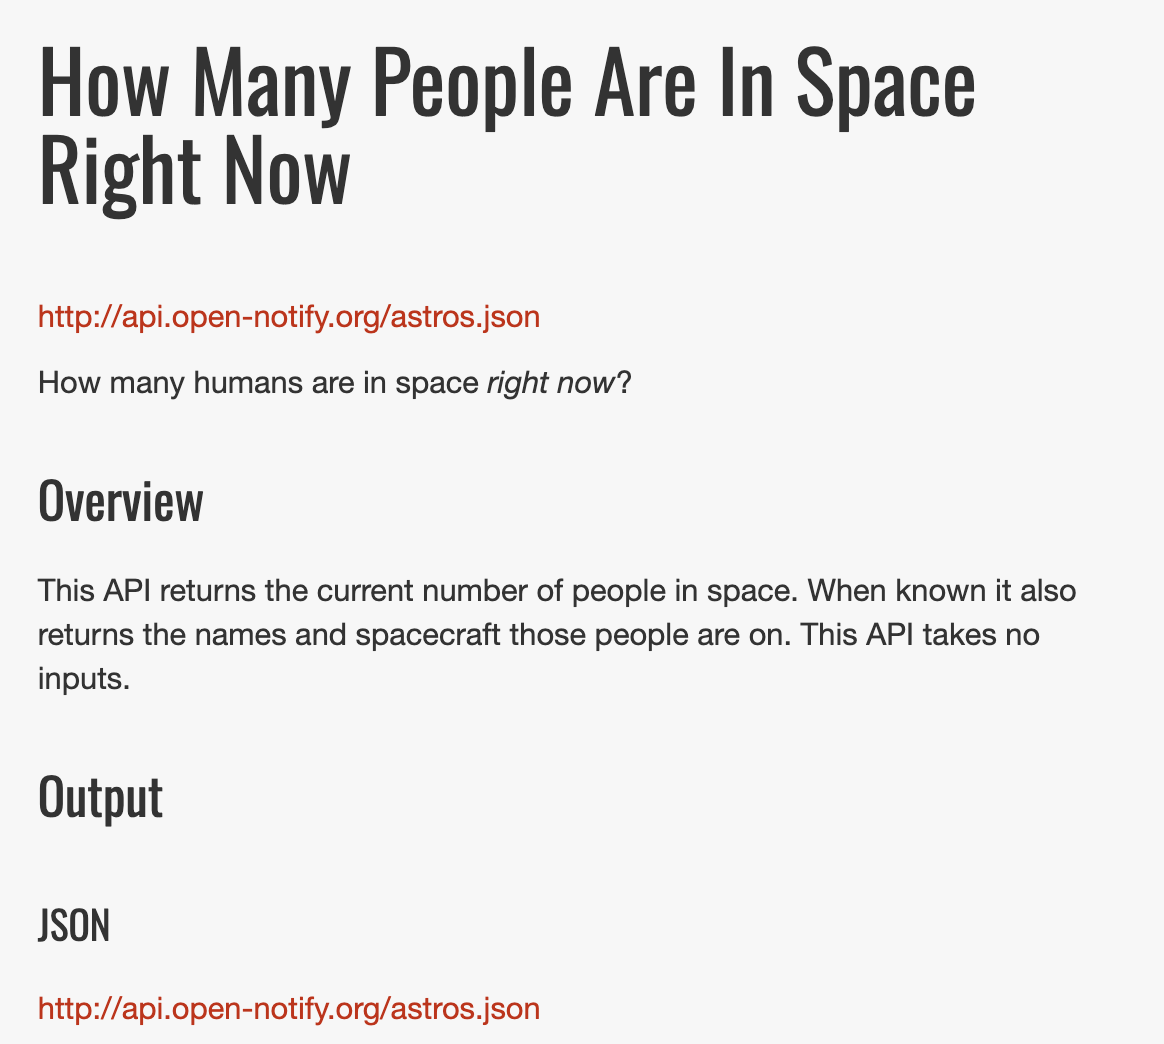
Figure 11.5: Open Notify API: number of people in space
To reiterate, the URL to get the location data of the ISS is given by:
http://api.open-notify.org/astros.jsonAt the time of this writing, the ISS position is:
{"message": "success", "people": [{"name": "Jasmin Moghbeli", "craft": "ISS"}, {"name": "Andreas Mogensen", "craft": "ISS"}, {"name": "Satoshi Furukawa", "craft": "ISS"}, {"name": "Konstantin Borisov", "craft": "ISS"}, {"name": "Oleg Kononenko", "craft": "ISS"}, {"name": "Nikolai Chub", "craft": "ISS"}, {"name": "Loral O'Hara", "craft": "ISS"}], "number": 7}Notice that this output is given in JSON format which we can momentarily arrange as:
{
  "message": "success",
  "people": [
    {"name": "Jasmin Moghbeli", "craft": "ISS"},
    {"name": "Andreas Mogensen", "craft": "ISS"},
    {"name": "Satoshi Furukawa", "craft": "ISS"},
    {"name": "Konstantin Borisov", "craft": "ISS"},
    {"name": "Oleg Kononenko", "craft": "ISS"},
    {"name": "Nikolai Chub", "craft": "ISS"},
    {"name": "Loral O'Hara", "craft": "ISS"}
  ],
  "number": 7
}
What do we have in this JSON object? We get the "message" status of the HTTP
GET request, we also have an array "people" containing the data of the
astronauts consisting of their "name" and "craft"; and finally we have the
total "number" of people in space.
11.3.1 Getting Data with HTTP request
The first step is to create a request object with request(), and then
complete the full path by appending the JSON file name. After that, we call
req_perform() to submit the request:
req = request("http://api.open-notify.org")

# then add on the query path
resp = req |>
  req_url_path_append("astros.json") |>
  req_perform()

resp
#> <httr2_response>
#> GET http://api.open-notify.org/astros.json
#> Status: 200 OK
#> Content-Type: application/json
#> Body: In memory (360 bytes)
To get the JSON content we use resp_body_json() which returns an R list:
astros = resp |> resp_body_json()

astros
#> $message
#> [1] "success"
#>
#> $people
#> $people[[1]]
#> $people[[1]]$name
#> [1] "Jasmin Moghbeli"
#>
#> $people[[1]]$craft
#> [1] "ISS"
#>
#>
#> $people[[2]]
#> $people[[2]]$name
#> [1] "Andreas Mogensen"
#>
#> $people[[2]]$craft
#> [1] "ISS"
#>
#>
#> $people[[3]]
#> $people[[3]]$name
#> [1] "Satoshi Furukawa"
#>
#> $people[[3]]$craft
#> [1] "ISS"
#>
#>
#> $people[[4]]
#> $people[[4]]$name
#> [1] "Konstantin Borisov"
#>
#> $people[[4]]$craft
#> [1] "ISS"
#>
#>
#> $people[[5]]
#> $people[[5]]$name
#> [1] "Oleg Kononenko"
#>
#> $people[[5]]$craft
#> [1] "ISS"
#>
#>
#> $people[[6]]
#> $people[[6]]$name
#> [1] "Nikolai Chub"
#>
#> $people[[6]]$craft
#> [1] "ISS"
#>
#>
#> $people[[7]]
#> $people[[7]]$name
#> [1] "Loral O'Hara"
#>
#> $people[[7]]$craft
#> [1] "ISS"
#>
#>
#>
#> $number
#> [1] 7
So far, so good.
But what if we want to arrange the astronauts data into a table (e.g. data frame
or tibble)? The astros object is a list, and the element $people—which is
also a list—has the data we are interested in.
This is where we can use apply() functions such as lapply() and sapply().
Let’s start with lapply() by extracting the names of the astronauts which
are in the first element of the list astros$people. Notice we do this by
defining an anonymous function to get the precisely the first element of a list:
# extract name of astronauts
lapply(astros$people, function(x) x[[1]])
#> [[1]]
#> [1] "Jasmin Moghbeli"
#>
#> [[2]]
#> [1] "Andreas Mogensen"
#>
#> [[3]]
#> [1] "Satoshi Furukawa"
#>
#> [[4]]
#> [1] "Konstantin Borisov"
#>
#> [[5]]
#> [1] "Oleg Kononenko"
#>
#> [[6]]
#> [1] "Nikolai Chub"
#>
#> [[7]]
#> [1] "Loral O'Hara"
The issue is that we still have a list. The good news is that we can unlist()
this output, ot we can also use sapply() instead of lapply() so that R
returns a simplified output object, in this case a vector:
astros_name = sapply(astros$people, function(x) x[[1]])

astros_name
#> [1] "Jasmin Moghbeli"    "Andreas Mogensen"   "Satoshi Furukawa"
#> [4] "Konstantin Borisov" "Oleg Kononenko"     "Nikolai Chub"
#> [7] "Loral O'Hara"
To get the name of the astronauts’ spacecrafts we repeat the same sapply()
operation but now on the second element of the astros$people list
astros_craft = sapply(astros$people, function(x) x[[2]])

astros_craft
#> [1] "ISS" "ISS" "ISS" "ISS" "ISS" "ISS" "ISS"
And the last step involves building the table: