3) Minimal Closeread with Text
In the preceding module, you got introduced to the main components of a Closeread document using a minimalist example. In this module, we provide another basic example of a text-only scrollytelling story.
Recall that you need to have installed the quarto Closeread extension in your working directory. Run the following command in your Terminal:
Terminal
quarto add qmd-lab/closereadExample
Below is an example of a qmd file with some content. Copy and paste it into a qmd document so that you can preview it or render it in all its Closeread glory.
example1.qmd
---
title: My first closeread document
format: closeread-html
---

::::{.cr-section}

Section with content to be handled by closeread.

:::{#cr-sticky}
Text that will be treated as the sticky element.

This text will be _stuck_ as you scroll up and down.
:::

Text that triggers the sticky element. @cr-sticky

More text that will appear next to the sticky element
as you scroll down.

Last sentence that will show up next to the sticky element.

::::
To render the document of example1.qmd, type the following command in your Terminal:
Terminal
quarto renderAlternatively, you can preview the output by running the following command in your terminal:
Terminal
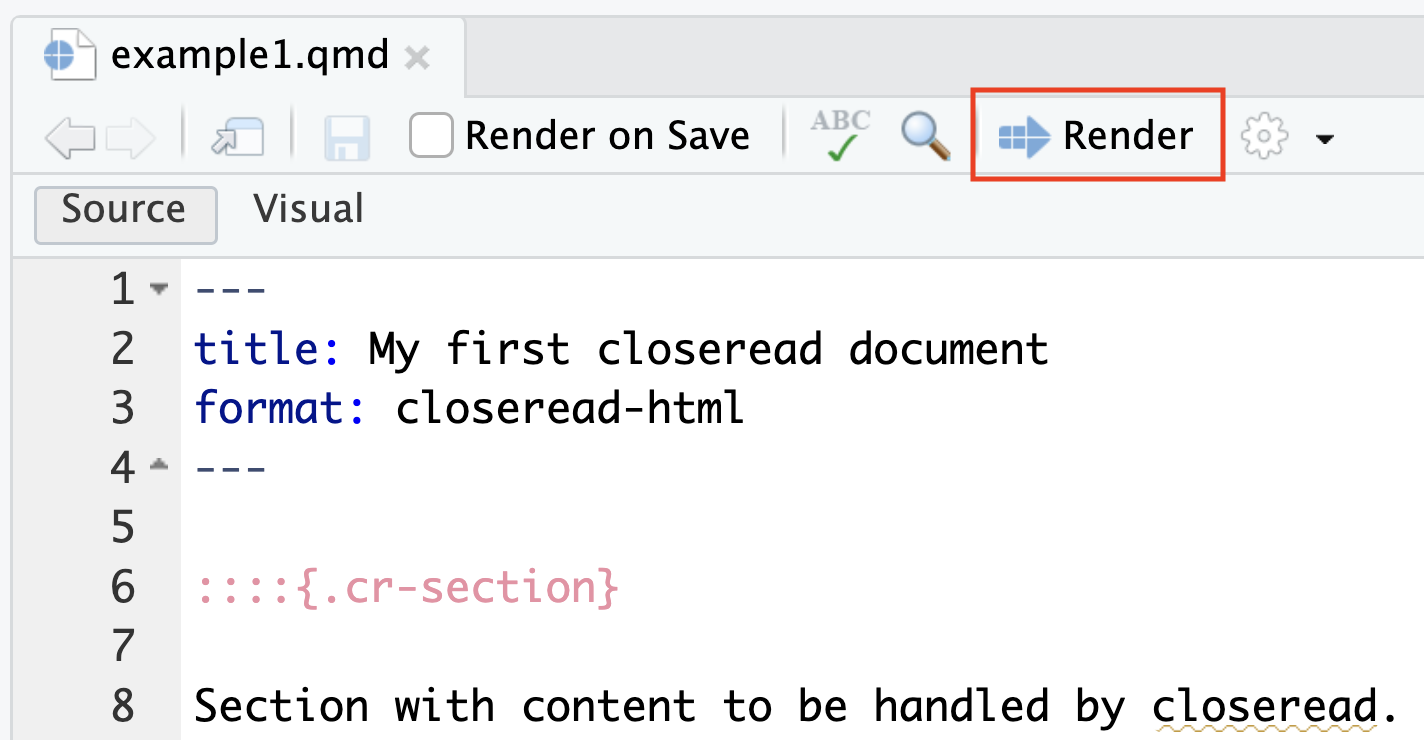
quarto previewAssuming that you are using RStudio, you can also click the Render button (see figure below).
What’s going on?
Let’s review the content of example1.qmd to gain a basic understanding of the primary Closeread components. Specifically, we are going to describe the following parts:
yaml header format
closeread section
sticky element
trigger action
YAML header format
The first thing to notice involves the yaml header. To be more precise, the specified format of the qmd document must be declared as closeread-html. As you would expect, this is what allows quarto to render the qmd file as a special type of HTML document using the Closeread scrollytelling framework.
---
title: My first closeread document
format: closeread-html
---
Closeread Section
The next thing to notice is the closeread section defined by the four consecutive colons, and the curly braces containing the id .cr-section.
::::{.cr-section}

::::
Simply put, a cr-section is what Closeread uses to do its magic. Think of this section as setting the boundaries for the content (e.g. text, code, images) that Closeread will take care of.
As you can tell, a closeread section, or cr-section for short, is started with an opening div, in this example ::::{.cr-section}, and is finished with a closing div of ::::
Every section needs a name, for instance: {.cr-section1} or {.cr-my-section} or {.cr-introduction}. The important thing is the use of { }, the prefix .cr- and the individual (and unique) name of the section.
Sticky Element
Inside a section you define one or more sticky components, or stickies in Closeread parlance. They also need to be surrounded by a div of ::: and a label or name {#cr-sticky}
:::{#cr-sticky}
Text that will be treated as the sticky element.

This text will be _stucked_ as you scroll up and down.
:::
A sticky, as the name indicates, is the element (e.g. text, code, image) that will get stucked as you scroll up and down the HTML document.
Do not confuse the syntax of a cr-section with the syntax of a sticky.
This is the syntax of a section:
{.cr-section}This is the syntax of a sticky:
{#cr-sticky}
Trigger
The third major component is a closeread trigger. This type of component is defined with the syntax @cr-sticky. In other words, a trigger refers to a sticky by pre-appending @ to the name of the sticky. Note that the trigger is not wrapped inside curly braces.
Text that triggers the sticky element. @cr-stickyWhat is the role of a trigger? A trigger is what Closeread uses to display a sticky. As you scroll through the HTML document, the sticky component will be displayed the moment you hit the text of the trigger. In turn, the sticky will remain stuck until you reach the end of the HTML document or until another trigger calls a different sticky element.
Take a look
You can take a look at this example here.